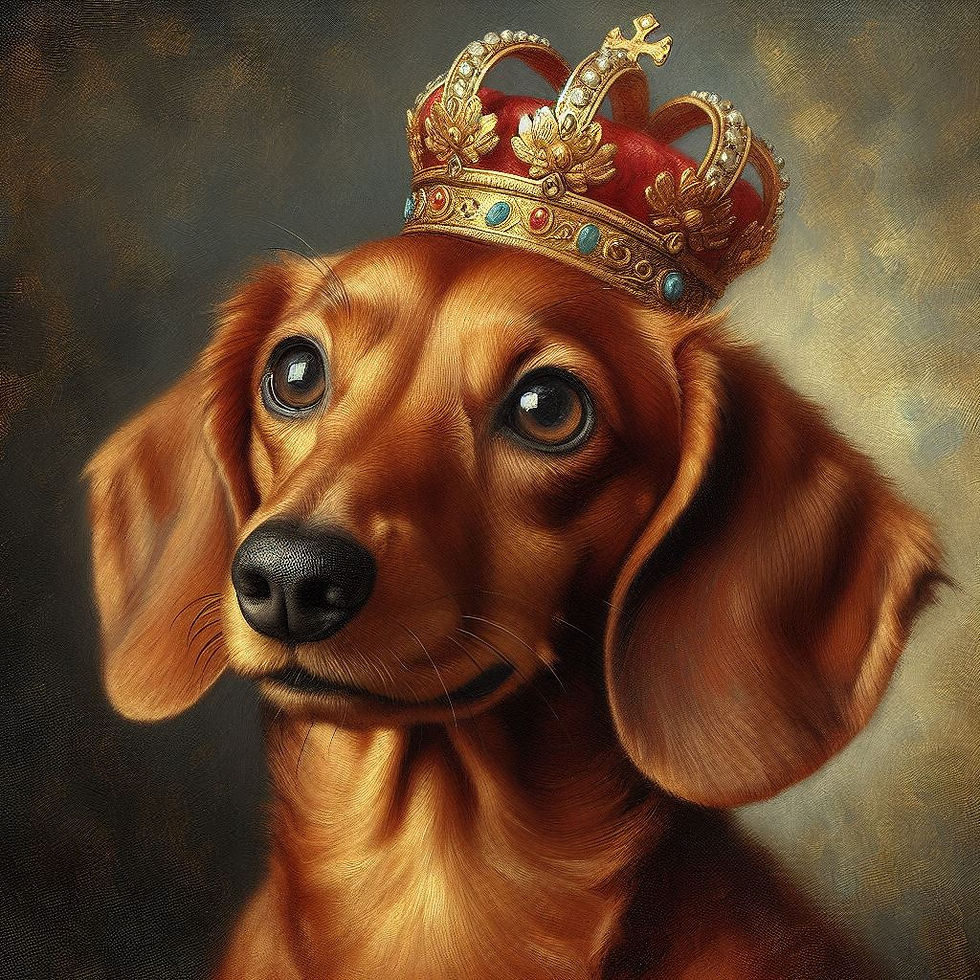
WIRE & SMOOTH COATS IN TRADITIONAL COLORS & OCCASIONALLY PIEBALD AND DAPPLE PATTERNS.
WE ARE IN THE BEAUTIFUL UPPER PENINSULA OF MICHIGAN
BREEDING, BOARDING AND GROOMING
INSTRUCTIONAL VIDEO FOR DECALS
The view button below will bring you to a youtube video with good instructions on applying your decal.
Application Guide
All surfaces must be thoroughly cleaned before applying your vinyl graphics. Soap and water first then rubbing alcohol on windows.
The temperature of the room and the temperature of the intended surface should be between 55 and 90 degrees Fahrenheit for best results. Humidity may affect the application process
Do not let the exposed graphic touch the intended surface. The back of the graphic is very tacky and will tightly adhere to the surface. If the placement is not correct, removing the graphic for re-placement will be very difficult or impossible without causing damage to the vinyl.
1. Using two small tabs of masking tape, tack the graphic to the intended surface. This is to insure proper placement before the liner is removed. This also allows you to adjust the height of each side independently.
2. Lay decal side down, give it a good press with your credit card × or squeegee, then carefully peel' the backing away(white paper) from the clear transfer tape. You should now only have the clear tape with decal attached.
3. Using a squeegee and starting from the top. Begin to marry the graphic to the intended surface. Starting from the center working outward. Use firm strokes with the squeegee to force the air out from beneath the letters or elements contained in your graphic.
4. It is now time to remove the transfer tape from the graphic and reveal the final product. Be careful not to remove the decal when removing the clear tape. When peeling, fold the transfer tape back on itself. Slow and Steady. If the graphic has small points or thin areas work from opposite of that first.


